Embarking on your VAT journey with Sage is now more straightforward than ever. My ‘VAT Guide for beginners on Sage in 10 Easy Steps’ provides an essential resource, specifically designed to simplify the VAT process for Sage Accounting users. Perfect for beginners or as a quick refresher, this guide unravels the complexities of VAT, making it approachable and manageable. Step into the world of efficient VAT compliance and management with the user-friendly Sage Business Cloud Accounting platform.
We are going to explore every vital aspect of VAT management within Sage Business Cloud Accounting to the final step of making payments via your banking app, this guide serves as your comprehensive roadmap. It’s been designed with beginners in mind, providing a complete, seamless journey from start to finish.
Maximize your learning by pairing this article with our detailed video guide. Watch now for a comprehensive understanding of VAT management in Sage — the perfect complement to this article for the fullest grasp of every step.
⚖️ Disclaimer: The information and steps provided in this article are based on professional experience and are intended to guide you through VAT management using Sage. However, this guidance should not replace individual consultation with a qualified professional, especially in complex or unique cases. Always seek personalised advice from a tax expert or an accountant to address your specific circumstances.
Step 1: Find & confirm the VAT balance
Ready to locate the correct VAT balance. Remember, we’re looking for the accurate balance reflecting all VAT transactions processed in the accounting system. This figure is what you’ll find in your VAT ledger of transactions and should match the amount under “VAT payable” in your Balance Sheet or Trial Balance.
The VAT balance from the Balance Sheet
First off, retrieve the VAT balance from the Balance Sheet for the period ending on your VAT submission period.
Do that in the workspace, by selecting the Balance Sheet icon, leading you to the Balance Sheet report options. Here, you set the closing date of the VAT period.
To pinpoint the VAT balance, navigate to the current liabilities section. The VAT Payable account shows the VAT balance. This number represents the real VAT amount due to SARS – this is the figure you should refer to when determining how much you owe or due to you, assuming all your books are up to date.
The VAT balance from the Trial Balance
Another invaluable resource is the trial balance report, which offers both VAT transaction balances and income statement information. I find the trial balance particularly useful because it includes income statement balances, which can greatly simplify the VAT reconciliation process.
To access the trial balance, click on the favourite icon (with the trial balance already set up as a favourite) then select the custom date range, starting from the first day of the financial year and extending to the last day of the VAT reporting period. At the end of the trial balance report, the VAT Payable account again reveals the VAT balance and liability amount due to the Receiver of Revenue, confirming the previous figure of the Balance Sheet.
For further ease of analysis, I often export the trial balance to an Excel document. This allows for more detailed examination and calculations outside of Sage.
In the Workspace area, clicking on the ‘Prepare VAT Return’ icon takes you to the VAT Returns and Reports section, where you can cross-check to ensure that the VAT report balance matches the VAT Payable balance from the trial balance.
Step 2: Closing the VAT Period in Sage
Closing the VAT period in Sage is a critical step in the VAT management process. It’s the point where you finalize all your transactions for a specific period and prepare for the next one. Let’s walk through how this is done and what to expect afterward.
Confirming and Closing the VAT Period
After ensuring the VAT report balance and the VAT balance from the trial balance are in agreement, we can proceed with confidence. In our scenario, we’re closing the VAT period spanning from September 1st to October 31st. It’s essential to ensure these figures align because any discrepancy could signal an issue, typically stemming from timing differences in the recording of VAT transactions. If you encounter such discrepancies, it might be wise to seek professional assistance to accurately calculate what needs to be submitted to the Revenue Service.
What Happens After Closing the VAT Period?
Once the previous VAT period is successfully closed in Sage Accounting, the system doesn’t just leave you hanging; it automatically gears up for the next cycle. Here’s the interesting part: the new VAT period isn’t a blank slate. Sage smartly populates it with the amounts from the transactions you’ve already recorded during this new period.
This feature of Sage Accounting ensures a seamless transition from one VAT period to the next, making sure that all your ongoing transactions are correctly accounted for in the new cycle. It simplifies tracking and managing your VAT obligations, ensuring that your business’s financial health is continuously monitored and accurately reflected.
As you move forward with Sage, this process of closing and beginning new VAT periods becomes a routine part of your accounting cycle, contributing to a well-organized and compliant financial management system.
Step 3: Generating the VAT Reports in Sage
Understanding your VAT reports in Sage is an essential part of dealing with VAT. Let’s take a look into how you can generate these reports and what kind of information they provide.
Accessing Detailed VAT Transactions
To get a comprehensive view of the transactions during your reporting period, you need to access the detailed VAT transaction report. This can be done by clicking on “view” beneath the VAT Report column in Sage.
This report is crucial as it contains all the detailed VAT transactions, making it a fundamental piece of your overall VAT report. It stands as key evidence in supporting the amounts you declare as VAT payable or receivable.
What Does the VAT Report Include?
The detailed VAT report in Sage provides an array of essential information for each transaction, including:
- Date: When the transaction was recorded.
- Reference: A unique identifier for the transaction.
- Account, Customer, or Supplier: Details of who was involved in the transaction or how it was categorised.
- Description: A brief overview of the transaction.
- VAT Period: The specific VAT period in which the transaction falls. Out-of-period transactions occur sometimes.
- Exclusive, Inclusive, and VAT Amounts: Breakdown of the transaction values.
Understanding the VAT Report Structure
The structure of the VAT report in Sage typically begins with sections labeled:
‘Standard Rate – Output VAT‘ and then ‘Standard Rate – Input VAT‘, followed by the grand total and the Final Amount payable or receivable. Near the end of the report, there’s a VAT summary section that gives you a quick overview of your VAT figures.
It’s important to note that while this report features categories like Standard Output and Input VAT, these are not the only categories available in Sage. Other types of VAT transactions can be reflected depending on your business transactions.
Exporting for Further Analysis
For more in-depth analysis and to facilitate a more comprehensive review, to accompany your VAT return submission it’s a good practice to export these reports to an Excel file. This is particularly useful to view your VAT data alongside the Trial Balance we discussed earlier.
By exporting to Excel, you can manipulate the data more freely, allowing for custom analyses and effective proof that can assist you with a VAT-or-Income Tax audit

Step 4: VAT Spreadsheet Optimisation
Optimizing your VAT spreadsheets is a crucial step in VAT management. It’s all about organising data efficiently, ensuring clarity, and preparing for any necessary audits or reconciliations. Let’s explore how to enhance your VAT data management using Excel and then finish the process in Google Sheets.
Streamlining VAT Data in Excel
Firstly, we will start with the data exported from Sage in Excel. The focus here is on making the data meaningful and manageable. For this purpose, we will primarily work with the detailed VAT transactions and bypass the VAT summary section. Our goal is to prepare the data for easy transfer to Google Sheets.
Key steps in streamlining include:
- Removing Text Wrap: This ensures each cell’s content is visible and clearly laid out.
- Un-merging Cells: By un-merging any combined cells, we make the data more uniform and easier to analyse.
- Enhancing Number Readability: With commas or space separators is crucial for quick view and accurate understanding.
Transferring the period’s data to the Annual VAT Summary Spreadsheet
Next, the VAT report will be incorporated into an Annual VAT Summary spreadsheet. This spreadsheet serves as a central repository, consolidating VAT reports and trial balances from various periods. Such organization aids in:
- Facilitating Calculations: Making it easier to compute totals and other relevant figures.
- Ranking Transactions: Useful for Revenue Service audits that may focus on larger transactions.
- Summarizing Fiscal Year’s Data: Ensuring that the summary aligns with the trial balance, which feeds directly into the Annual Financial Statements and the Income Tax return.
Renaming and Organizing Sheets
To maintain order and clarity:
- Rename Worksheets: Each sheet will be named to 1. reflect the VAT period and document type, with 2. another labeled with the period and ‘TB’ for Trial Balance.
- Enhancing the Trial Balance Sheet Layout: Adding gridlines, adjusting the date, removing Text Wrap and merged cells, and improving readability. Account Category and Account Description rows, known to you, will be removed for simplicity.
- Finalising Data Transfer: Any empty rows will be removed, and the cleaned, streamlined data will be copied to the main summary worksheet.
Step 5: Combining the VAT Data into the summary
Transfer your data from Sage reports into a VAT summary spreadsheet with our simple guide, making the entire process seamless.
In this step, we delve into the critical task of consolidating VAT data from Sage reports into a comprehensive VAT summary spreadsheet. This process is key to ensure your VAT ties up to the rest of your business’ financial figures.
The task is to meticulously fill in the data drawn from both the VAT report and the trial balance.
Populating the Spreadsheet with VAT Data
- VAT Inclusive Sales: The journey begins with linking VAT inclusive sales directly from the VAT report. This ensures that we can add the sales figures for the year-to-date.
- Calculating Exclusive VAT and Output VAT: To determine the exclusive VAT amount and Output VAT, employ specific formulas. These calculations are crucial, as they segregate the net sales from the VAT amount. A quick comparison with the VAT report is conducted to verify the accuracy of these figures in your reconciliation summary.
- Incorporating Input VAT: Moving forward, integrate the Input VAT from the VAT report. This figure automatically populates in the last column of our spreadsheet, representing the reclaimable VAT amount.
- Reconciliation and Verification: The final leg involves inputting the balance from the trial balance into our spreadsheet and juxtaposing it with the VAT report payable/receivable amount. Using a formula, we’ll see a match between the two, validating that our VAT report balance aligns perfectly with the VAT payable balance.

Step 6: Essential VAT reconciliations
We take you through the process of summarizing VAT transactions from your reports, a crucial step in your VAT submission process.
Comparing Sales Per Return with Trial Balance
Begin by focusing on the figures listed beneath the table in your VAT summary spreadsheet. Here, we engage in a critical comparison exercise: matching ‘Sales per VAT return‘ against the Trial Balance Sales figures in the trial balance. ‘Sales per return’ is derived from the year-to-date totals added in the VAT summary of all the VAT returns.
Tallying Sales from the Trial Balance
The next step is to tally the sales figures. This involves adding up all revenue accounts categorized as Output VAT from your trial balance.
Connecting Totals for Comparison
Now, link these tallied figures to the corresponding area of the VAT returns of your summary. This action is key to contrasting your calculated total with the ‘Sales per VAT return’.
To aid in future reconciliations and clarity, I encourage the use of color-coding the figures taken as “sales” from the trial balance. This visual aid is incredibly helpful for tracking and understanding the composition of the ‘Sales per trial balance‘ figure.
Addressing Discrepancies
It’s important to contextualize this figure. Some reconciling items, especially non-VATable ones, can explain any discrepancies. This is what you want to achieve: Why is there a difference? can it be quantified and explained? Find reassurances us that your financial records are accurate and reliable.

Step 7: Opening the VAT Return on the SARS eFiling Website
Transitioning to the submission phase, we now focus on the SARS eFiling website, a critical platform for managing VAT submissions in certain regions. Let’s walk through the process of accessing and initiating a VAT return on this system.
Logging into SARS eFiling
The first step involves logging into the SARS eFiling website using your standard credentials. Once logged in, the system offers a range of options for managing various tax-related matters.
Navigating to the VAT Return
In the SARS eFiling dashboard:
- Go to ‘Returns History’: This section provides a historical overview of your past submissions. It’s a good place to start to ensure continuity and accuracy with your tax filings.
- Select ‘Value Added Tax’: Under this, look for the VAT201 return option. This is where you’ll manage your VAT submissions. You might notice the last submission listed, which helps you determine the next period due for submission. This step is crucial to confirm that you are preparing the return for the correct tax period.
Initiating the VAT Return
To begin the process of filing a new VAT return:
- Navigate to ‘Returns Issued’: This menu is where you can access the forms for your upcoming VAT submissions.
- Select ‘Value Added Tax’ from the Dropdown: This narrows down your options to VAT-related tasks.
- Request the VAT Return:
- Find and click on ‘Request Return’,
- then choose the appropriate VAT period you need to file for.
- After selecting, hit the “Request Return” button. This will open up the VAT 201 Work Page.
Verifying Essential Details
On the VAT 201 Work Page, it’s important to meticulously verify several key pieces of information:
- Taxpayer’s Name: Ensure it’s correctly listed.
- Tax Period: Verify that the period matches the one you intend to file for.
- Tax Reference Number: This should be consistent with your previous submissions.
- Return Type: Confirm it’s the correct form – VAT201 in this case.
Ensuring these details are correct is vital for the accuracy of your VAT return. Any discrepancies here could lead to issues with your submission.
Step 8: Completing the VAT201 VAT Vendor Declaration Form on SARS eFiling
Completing the VAT201 form on SARS eFiling is a multi-step process that requires attention to detail. Let’s walk through each part to ensure a thorough understanding and correct submission.
8.1 Initial Details
After accessing the ‘VAT201 Issued‘, you’ll be presented with the VAT Vendor declaration form. Here, you need to verify the Vendor details, including trading names and VAT registration numbers. Ensure everything is accurate to avoid any discrepancies.
In the ‘Contact Details’ section, carefully populate the necessary fields. A critical note to remember is regarding the Voluntary Disclosure Programme (VDP). Only opt for ‘Yes’ in this section if you have an official VDP agreement in place. Otherwise, select ‘No’ to avoid unnecessary delays in your return process.
8.2 Part A – Output VAT
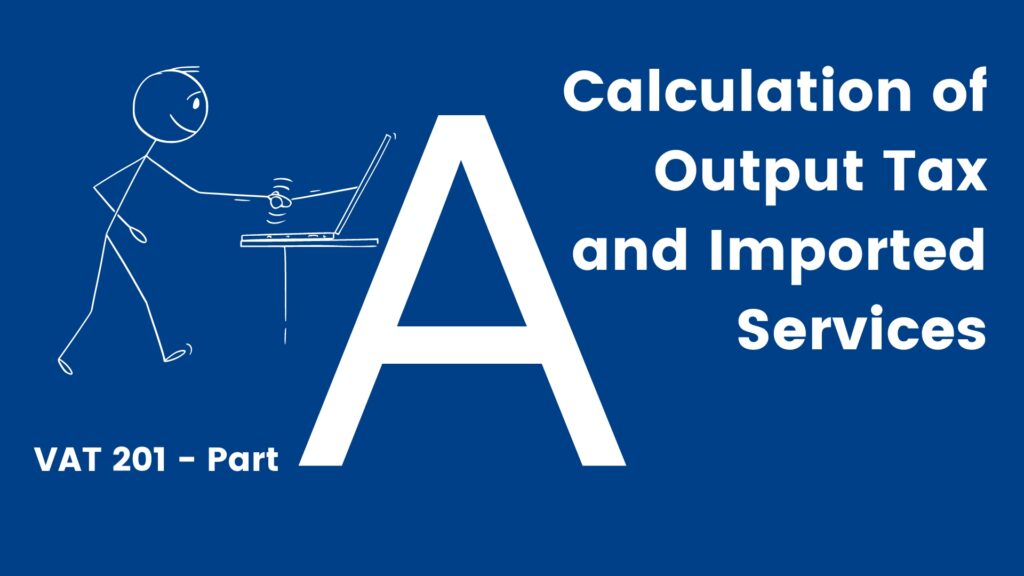
Part A of the form focuses on Output Tax and Imported Services. Start with line 1, inputting the ‘Sales Including VAT’ figure. The system calculates the VAT amount automatically. Ensure this amount matches your VAT summary.
Although there are other Output VAT fields, I am going to concentrate on the essential fields for a basic VAT return submission, in line with most business needs.
8.3 Part B – Input VAT
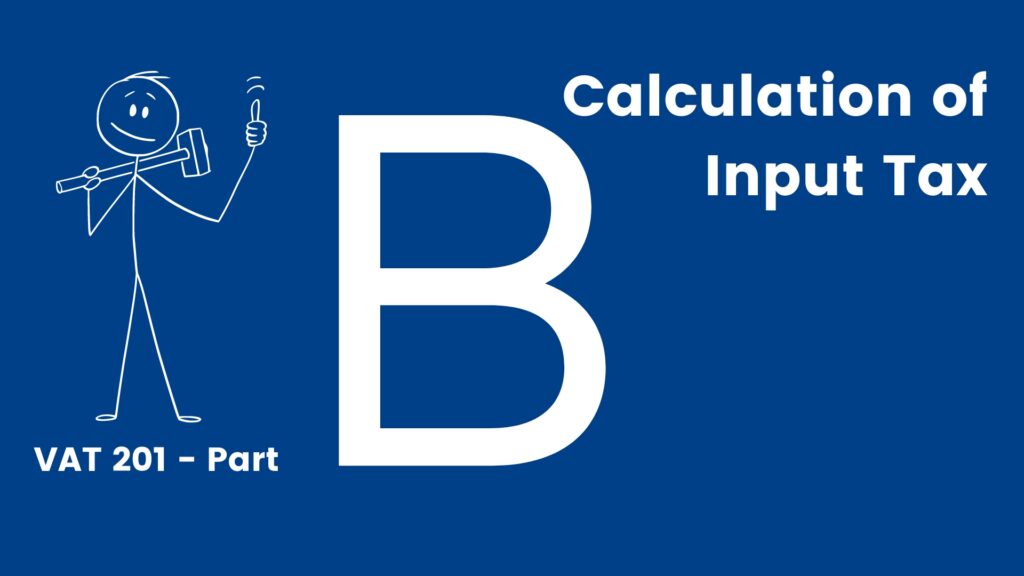
Part B involves the ‘Calculation of Input VAT’. If your records indicate a single category of input VATs, focus on Row 15 for ‘Other Goods and/or services supplied to you – not capital goods‘.
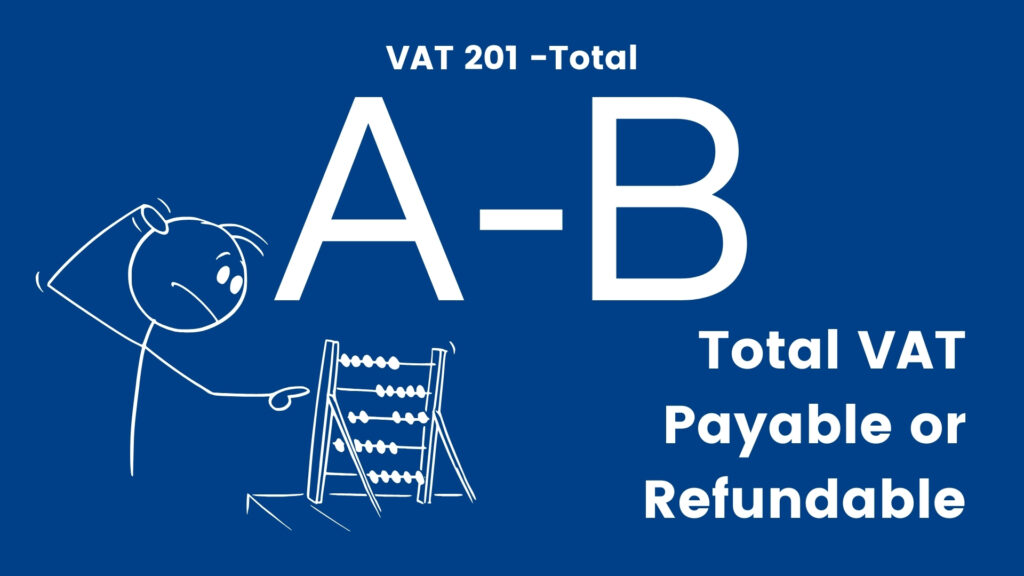
Input the claimable and deductible input VAT here. Confirm that the total input VAT from rows 14 to 18 matches your VAT summary. The final amount payable or refundable is the Total Output VAT (Part A) minus the Total Input VAT from Part B.
8.4 Part C – The Diesel Fuel Refund System
Part C addresses the Diesel Fuel Refund (DFR) system. This part is relevant for businesses in specific sectors like farming, forestry, fishing, mining, marine fishing and coastal shipping, and rail freight.

They can claim refunds for the fuel levy, Road Accident Fund (RAF) levy, and other applicable levies. If Part C is not applicable to your business, ignore it and proceed to the submission stage.
8.5 Submission
To submit the VAT201 form, click the “Submit VAT 201” button at the top of the page. Once submitted, the SARS system processes the form. You will then receive a confirmation message under the ‘Result Headings’ section, ideally stating, “Your return has been successfully submitted.”
Clicking ‘Continue’ takes you back to the VAT201 Work Page, indicating that your VAT201 return has been filed successfully through e-filing.
Step 9: Making the SARS eFiling Payment
Finalizing your VAT process involves not just the submission of returns but also ensuring that any due payments are made promptly. Let’s walk through the procedure of making a VAT payment through the SARS eFiling system.
Initiating the Payment Process
- Making the Payment: Begin by clicking on the “Make Payment” button. This is where you address any outstanding VAT amounts.
- Payment Confirmation: Click on the “Pay Now” button and then select “OK” to proceed with the payment.
Choosing the Bank and Understanding Security Measures
- Selecting the Bank: In the following screen, choose your bank as specified in your organizational details.
- Payment Authorization: It’s crucial to note that the person responsible for the payment (usually the owner of the bank account) must authorize it. This security feature in the system allows one person (like an accountant) to initiate the payment, while another (like the business owner) approves it.
Understanding VAT Payment Due Dates
For bi-monthly tax period VAT vendors, common in South Africa, VAT payments are typically due by the 25th day after the end of the two-month tax period.
For instance, if your tax period ends on 31 October, your VAT payment should be made by 25 November. However, if you’re using SARS eFiling or electronic funds transfers (EFTs), the due date extends to the last business day of the month following the tax period, offering some additional time compared to manual submissions.
Remember, if the due date falls on a weekend or public holiday, aim to make the payment on the preceding Friday.
Finalizing the Payment
- Confirming the Payment: After selecting “Pay Now”, you’ll be taken to a page to confirm the payment initiation. Clicking “Confirm” sends the payment instruction to your bank, where it awaits approval. You’ll see a prompt detailing the payment amount to SARS, the bank account used, the payment date, and a cautionary note that once submitted, the instruction cannot be reversed.
- Completion and Records: Upon confirming with “OK”, a notification of successful submission appears. It’s advisable to print this confirmation for your records, indicating that the payment step is completed.
With these steps completed, your tasks on the SARS eFiling platform are finalized. Click “Continue” to move forward.
Step 10: Authorizing the VAT Bank Payment
Completing the VAT process involves one final, crucial step: authorizing the VAT payment on your bank. Here, we’ll specifically look at how to do this using FNB’s online banking platform. This step is vital to ensure that your VAT payment is successfully processed.
Starting on the FNB Home Page
Accessing Payments
- Begin by logging into your FNB account and navigating to the top navigation bar.
- Here, select ‘Payments’ to access the various payment options available.
- Within the ‘Payments’ section, locate and click on ‘eFiling’.
- This area will show the payment that was initiated from SARS eFiling. Check the amount displayed here against your VAT return submission to ensure consistency and accuracy.
Preparing for Payment Submission
- On the left sidebar of the eFiling section, look for ‘options’.
- Select ‘Submit eFiling payment’ to proceed.
- Confirming the Payment: You’ll see a list of transactions. Check the box next to the appropriate transaction row.
- Once selected, click ‘Continue’ at the bottom of the page to move forward.

Authorizing the Payment
- At the bottom of the screen, you will find an ‘authorize’ button.
- Click on this to initiate the final step of the payment process.
- Agreeing to Terms: A prompt will appear asking you to agree to the terms and conditions.
- Check the box to acknowledge these terms and then
- select ‘Accept’ at the bottom of the screen.
Completing the Process via Mobile Banking
- Mobile Banking Notification: After you’ve completed the authorization steps on the website, a notification will be sent to your mobile banking app.
- Releasing the Payment: Log into your mobile banking app, where you will need to review and finally release the payment.
- Once you authorize the payment on your app, the transaction is considered complete.
Conclusion
Thank you for accompanying me on this comprehensive journey through VAT management with Sage. If you’re new to Sage or considering it for your business needs, I encourage you to explore its capabilities with a 30-day free trial.

Sage, with its user-friendly interface, simplifies the VAT submission process, making compliance a less daunting task. Whether you’re just starting out or seeking to solidify your understanding, mastering the basics with Sage lays a solid foundation for your ongoing success in business financial management.
Together, let’s make VAT management an uncomplicated and manageable part of your business operation. Keep thriving, and remember, with Sage, managing VAT is straightforward and streamlined.
