
The Fun Accountant is back with another comprehensive guide, this time aimed at revealing how easy and quick it is to manage EMP501 Mid-Year Submissions to SARS. With Sage Business Cloud Payroll (also popularly known as Sage Payroll) and Easyfile, even those new to the process or those who have faced challenges before can navigate through with ease. This 9-step blog tutorial is tailored just for you!
For those who wants to watch the accompanying video here is the link:
—->>>https://youtu.be/RZfUxqBR-WQ?si=CoAqimwVAqHu-q5r
Why EMP501 Mid-Year Submissions Are Crucial
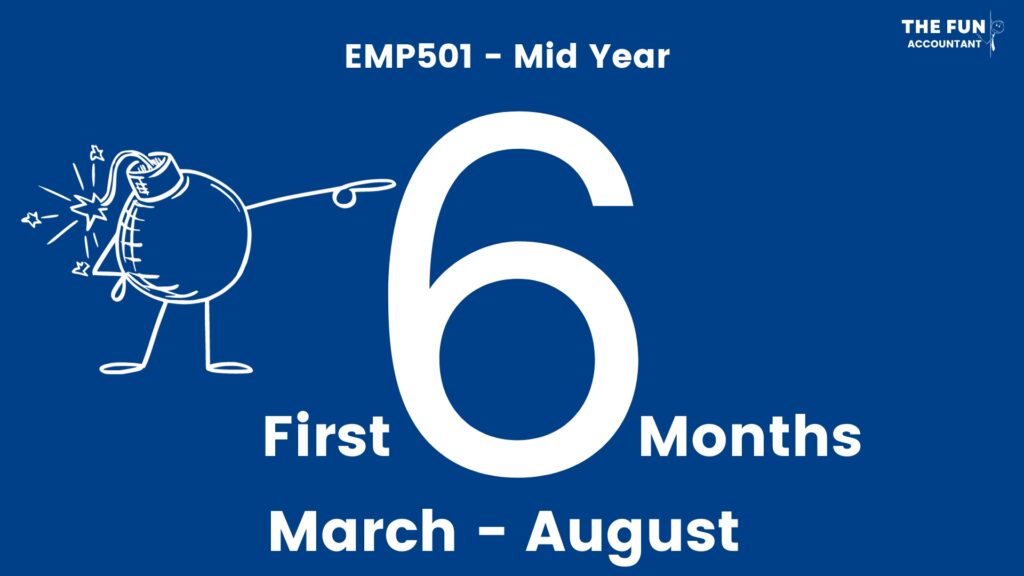
Every employer in South Africa knows the drill—twice a year, it’s time to reconcile your PAYE, SDL, and UIF deductions and payments with SARS. It’s more than a compliance tick-box; it’s essential for keeping your business in good standing.
So, I took to the task and meticulously documented a Mid-Year EMP501 Reconciliation for the first half of the tax year, from March to August.
Any employer that is armed with the right tools can perform this task and I am going to give you the know-how to sail through these submissions. This isn’t just another run-of-the-mill guide; it’s a front-row seat to an error-free reconciliation, one that could save you time and avoid headaches.
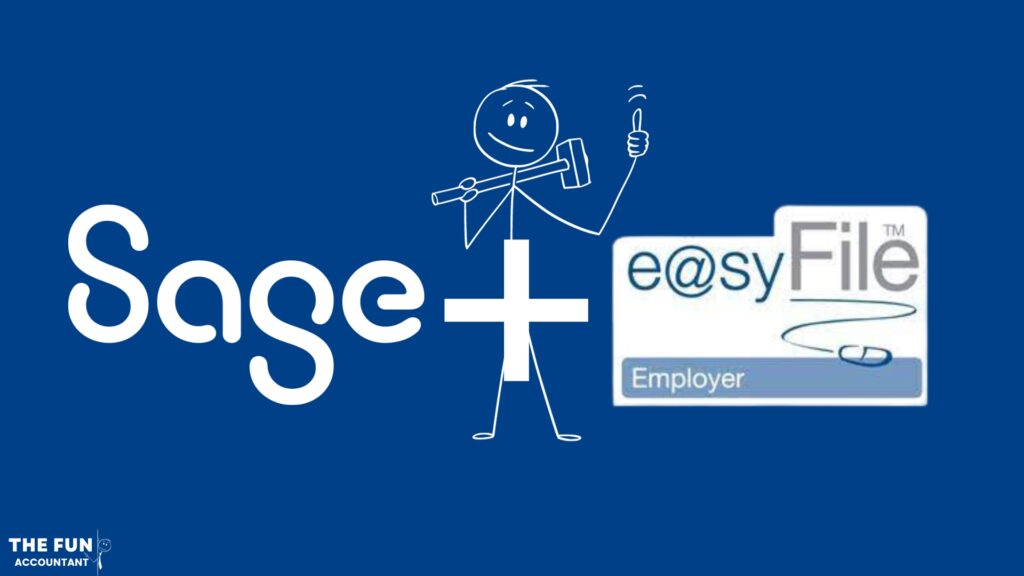
Armed with Sage Business Cloud Payroll and the SARS Easyfile system, I’ll walk through the entire process. By the time we’re done, you will have this comprehensive 9-step guide that will assist you to understand and confidently perform the entire Mid-Year EMP501 reconciliation process yourself.
Step 1: Secure Your Data: How to Back Up Your Easyfile Database
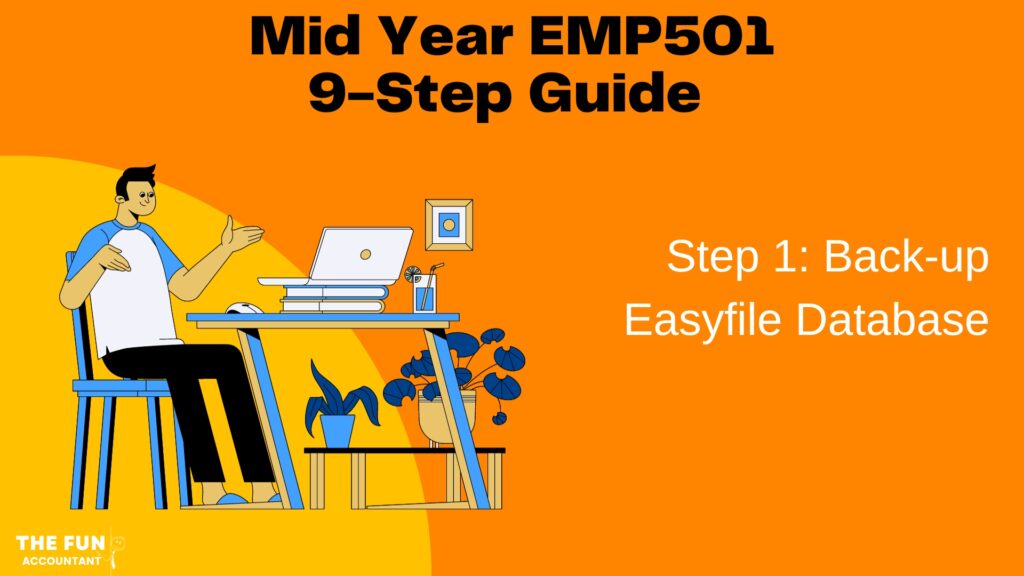
The SARS Easyfile program operates from your personal computer and connects to SARS eFiling to update your submissions. This is why regularly backing up your database is critical—it serves as your safeguard against data disasters, enabling quick recovery and providing experts with the necessary data to assist you if needed.
Here’s a smart tip for those moments when Easyfile insists on updating before you can access it: Always initiate a backup first by disconnecting from the internet. This preemptive step prevents the program from prompting an immediate update, which can lock you out of the system temporarily. Once safely disconnected, log in to Easyfile to proceed with your backup without interruption.
When you see ‘DISCONNECTED’ in bold red at the bottom of your screen, you’re good to go!
Log in, double-check that all-important Employer Tax Registration number, and make your way to:
- ‘Utilities,’
- followed by ‘Database Utilities.’
- Hit ‘Backup DB Directory,’
- pick a secure location on your computer,
and you’re done—your database is backed up and secure.
With this essential safeguard in place, you can reconnect to the internet. Your data is safe, and you’re ready to tackle the next steps.
Step 2: Stay Updated: How to download and install the Latest Version of Easyfile

It’s important to know that it is impossible to open and work on Easyfile without installing and updating to the latest version. Here’s all the steps to get to speed with latest version:
- Head to the SARS eFiling website. Two Easyfile buttons greet you—select the ‘Employers Easyfile’ button.
- Find and click the ‘Windows Download’ button. A prompt will appear emphasising the need for a backup before proceeding with the new version. It’s a good thing we’ve already covered that step.
- Click ‘Download’ to start. A dialogue box will appear, reiterating the importance of backing up your PAYE data, again!—since we’ve already done that, click ‘Yes.’
- Fill in the form as required by SARS with your details—surname, initials, company info, PAYE Reference Number, and contact details. Agree to those terms and conditions, and then hit ‘Proceed.
- Alright, gear up because it’s time to get this Easyfile update installed! Navigate to your ‘Downloads’ folder and look for the file called ‘Setup EMP 7.4.1.’ Double-click to launch the installer, and if Microsoft Defender chimes in, just click ‘Run anyway.
- The Easyfile Setup Wizard will take over. Consent to the License Agreement, then let the wizard install the new version.
- The Easyfile Setup Wizard will take over. Consent to the License Agreement, then let the wizard install the new version.
- A prompt will appear asking if you want to replace your current version—go ahead and let the installer work its magic. When it’s done, a dialog box will pop up saying you’ve successfully installed the Easyfile viewer. Hit ‘OK,’ and you’ll be whisked away to the Easyfile Forms Viewer.
- Exit the viewer to return to the login screen. Enter your credentials and log in. A final confirmation will announce the update’s success. Click ‘OK,’ and you’re all set with the latest Easyfile version, ready for use.
Step 3: Export the Mid Year Tax Submission File from Sage Business Cloud Payroll
We’ve built our Easyfile base. Now, let’s aim for a smooth EMP501 submission by getting into the heart of the process with our payroll data file.
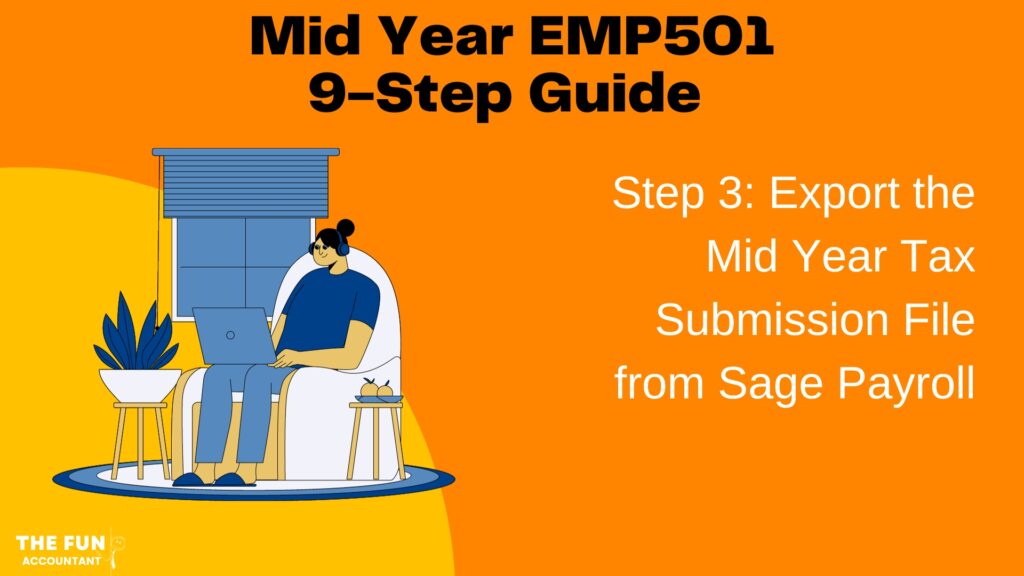
Open Sage Business Cloud Payroll and follow my lead:
Navigate to the top menu, click on ‘More,’ and then ‘Tax Certificates.’
Under ‘Submission Details,’
- select the tax year in play—2024, in this instance.
- Then, for ‘Submission Period,’ choose ‘Mid Year.’
- For ‘Type of Submission,’ opt for ‘Live.’ Give Sage a moment—it’s processing your request.
- then click the green ‘Create Submission’ button in the top right corner.
You might encounter a prompt indicating no errors but perhaps a warning. No need for concern—simply click ‘OK’ and proceed.
Next, we spotlight the tax submission file—your show’s headliner. Secure this file; it plays a pivotal role, which you’ll appreciate soon.
Once you’ve successfully generated your tax submission file, a ‘success box’ will confirm its readiness. Hit ‘OK’.
Sage Business Cloud Payroll Reports
Now, let’s shift the focus to the unsung heroes: Sage Business Cloud Payroll Reports. They’re crucial for troubleshooting and audit readiness. Here’s the breakdown:
- Tax Certificates: Skip these during Mid Year submissions—they’re not needed until annual certificates are issued to employees.
- Employee Tax Reconciliation Report: Preserve this report. You’ll see it go from a red cross to a green tick mark once saved—indicating completion.
- EMP501 Reconciliation Report: This critical document summarizes your PAYE, SDL, UIF, and Employment Tax Incentives from March to August. Make sure to save it.
- Income Tax Certificate Error Report: It’s not the report we want, but it’s sometimes the report we get, typically due to missing employee tax reference numbers. But don’t worry, we’ll use Easyfile to iron out these creases. Save this report, too.
With these reports in hand and steps completed, it’s time to log off from the Sage Business Cloud Payroll program and prepare for the next phase.
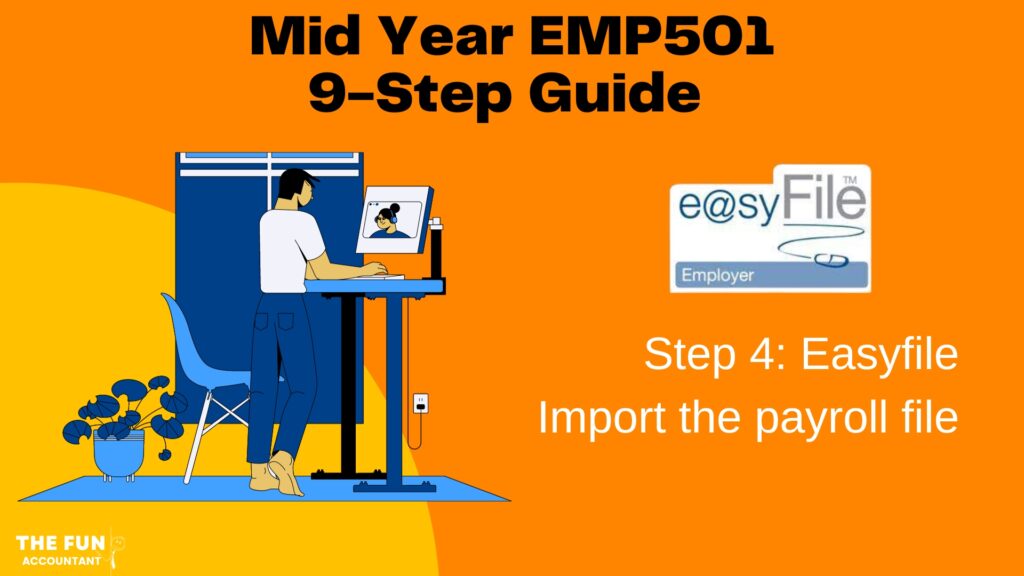
Step 4: How to Import Your Payroll File into Easyfile for EMP501 Mid-Year Reconciliation
Easyfile is the tool SARS crafted to streamline your PAYE reconciliations. Remember, Easyfile lives on your PC, acting as a bridge to upload and reconcile your data before pushing it to SARS eFiling.
Launching Easyfile and logging in with your credentials. Choose the company you’re focusing on today, and verify that PAYE registration number closely. Hit ‘OK’ to forge ahead.
Importing your Sage Payroll file
Now, the import step. Your Sage Payroll file is the cornerstone here.
Navigate through the menu to:
- ‘Import,’ and select ‘Import/Export Payroll file.’
- You’ll face a prompt for a CSV file—fear not, just proceed by selecting ‘Import Payroll File.’
- Expect a reminder saying only local disk files can join the party. It’s standard procedure—acknowledge with ‘OK’ and proceed.
- The system will nudge you towards your ‘Downloads’ folder. Here, find and select the ‘Live’ file previously exported from Sage Payroll—mine is tagged ‘MID_2024’ for demonstration purposes—and
- click ‘Open.’
- Like clockwork, a message springs up, affirming your Payroll file is primed for import. Click ‘OK’ to initiate.
- The file undergoes a validation check—assuming you’ve been meticulous thus far, this should go off without a hitch. Post-validation, click ‘OK.’
Voilà! You’ll be greeted with a success message, confirming your payroll file’s seamless entry into Easyfile. Click ‘OK’ one last time, to ready yourself for the upcoming actions.
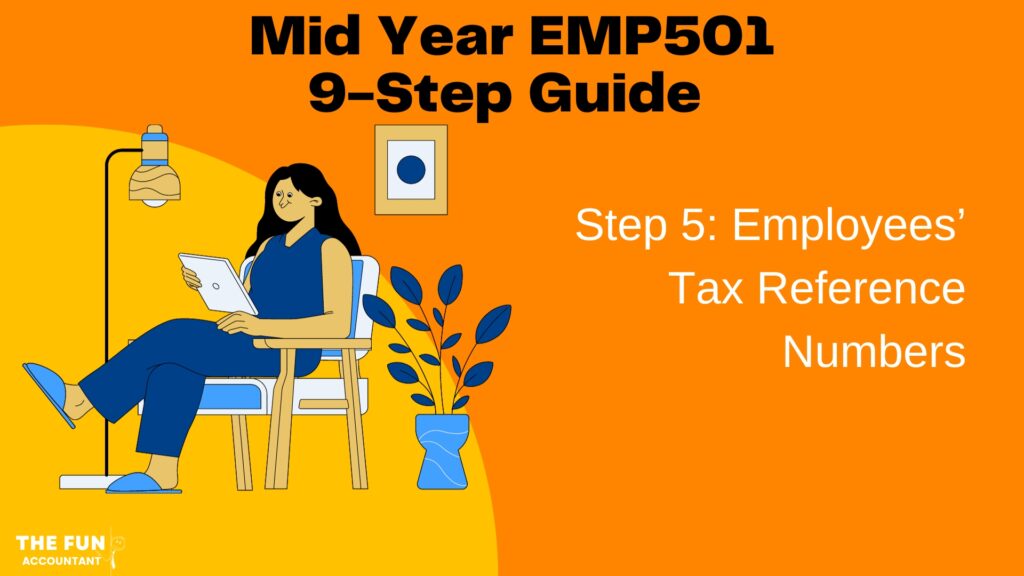
Step 5: Fixing Income Tax Certificate Errors: Correct Employees’ Tax Reference Numbers
Encountered a hitch with a missing employee tax number? Fret not, we’re on it. If you’re all clear on this front, feel free to jump to the next section.
In Easyfile head over to:
- ‘Employee Admin’,
- then ‘View/Edit Employees’ in the left sidebar.
- Here, select the tax year and employee in question.
- An empty ‘Income Tax Reference’ field is our cue to action.
- Click ‘IT Reg’ to embark on a quick fix.
- A new window pops up with the employee’s contact details.
- Hit ‘IT Reg’ again, and you’ll be steered to the banking information.
- Persist with one more ‘IT Reg’ click and, just like that, you’re requested to login to SARS eFiling.
- Enter your SARS eFiling credentials.
Just like that! You’re presented with the missing tax number.
Copy this precious piece of information and paste it into the employee’s tax details in Sage Payroll’s awaiting field.
Back in Easyfile confirm with ‘OK.’
On the employee details page, the once vacant ‘Income Tax Reference’ field now displays a tax reference number for this employee.
Cement your success by saving the employee record.
Step 6: Navigating SARS eFiling: How to Request Your EMP501 Form

With the Mid-Year Tax file imported and a missing tax number retrieved, you’re primed for the EMP501 Reconciliation via Easyfile. Here’s what to do:
- Head to the ‘Reconciliation’ section in the sidebar, and click on ‘Declaration.’
- In the next page at the top, you’ll find the Reconciliation period options. For a Mid-year reconciliation, select ‘yyyy 08’ for August, and then press ‘Request.’
- A prompt will appear, inviting you to auto-fill your return with data already in SARS eFiling. Confirm this to proceed.
Once you log into eFiling, your screen, previously a blank canvas, will now display a line with financial values populated in each payment category. And just like that, the status switches to ‘Saved.’
Hold tight, Easyfile isn’t done yet. It’ll generate the EMP501 return, which compares the amounts paid to the employee details we imported from Sage Payroll. Be patient—this step may take a moment… And there you have it, your EMP501 return is ready for your review!
Step 7: Review the EMP501 Return

Unlike previous years, from August 2023, you don’t manually input payment amounts from your SARS Payroll Statement of Account anymore; they’re pulled directly from e-filing. This is a time-saver, and I’m all for it!
What you’ll want to see is that the total amounts paid align perfectly with the employee certificates.
If you’re using premier software like Sage Business Cloud Payroll, discrepancies are rare. Most errors occur when employers use manual systems—those are error-prone and not ideal for mandatory submissions like EMP501 reconciliations.
Manual payroll processes, lack the necessary checks and balances that a software like Sage Business Cloud Payroll provides. Therefore if you are using Sage Payroll, for EMP501 submissions they will be spot-on with no deviations or outstanding amounts. This assurance of accuracy is not just a convenience—it’s a game-changer, ensuring that your submissions are consistently reliable and compliant with SARS regulations.
Step 8: Submit the EMP501 Return

1: Initiating the Submission Process
- Navigate to the ‘File’ option located on the top menu of the EasyFile application.
- Click on ‘File & Close’. A message will appear informing you that the Employer Declaration (EMP501) is prepared and ready for submission.
- Confirm the message by clicking ‘OK’. The status of the EMP501 should now read ‘Ready to File’.
2: Selecting Your Declaration for Submission
- Move to the left-hand sidebar and select ‘Submission’.
- Within the ‘Submission’ section, choose ‘Submit to SARS’.
3: Preparing and Confirming Your Submission
- A checkbox will appear next to the EMP501 entry. Tick this box to indicate your selection.
- Proceed to the top-right corner and click ‘Submit’.
4: Validation and Saving Your Return
- A ‘Validating Data’ message will display, indicating the system is checking the submission for errors. Once validation is complete, you will be prompted to choose a location on your computer to save the completed EMP501 return.
5: Declaration of Accuracy
- A declaration will appear, asking you to confirm the accuracy of your reconciliation and that all taxes and payments are properly declared.Once you confirm the declaration, enter your SARS eFiling login details to proceed.
6: Final Submission and Confirmation
- Upon successful login, you should receive a notification stating, ‘EMP501, IRP5/IT3(a), EMP601, and EMP701 data successfully submitted to SARS.
- ‘Click ‘OK’ to acknowledge this notification.You will then receive a final message confirming that the reports have been generated and saved in the location you specified.
- Acknowledge this message by clicking ‘OK’. Note that since this is a mid-year submission, no certificates will be generated for employees at this stage.
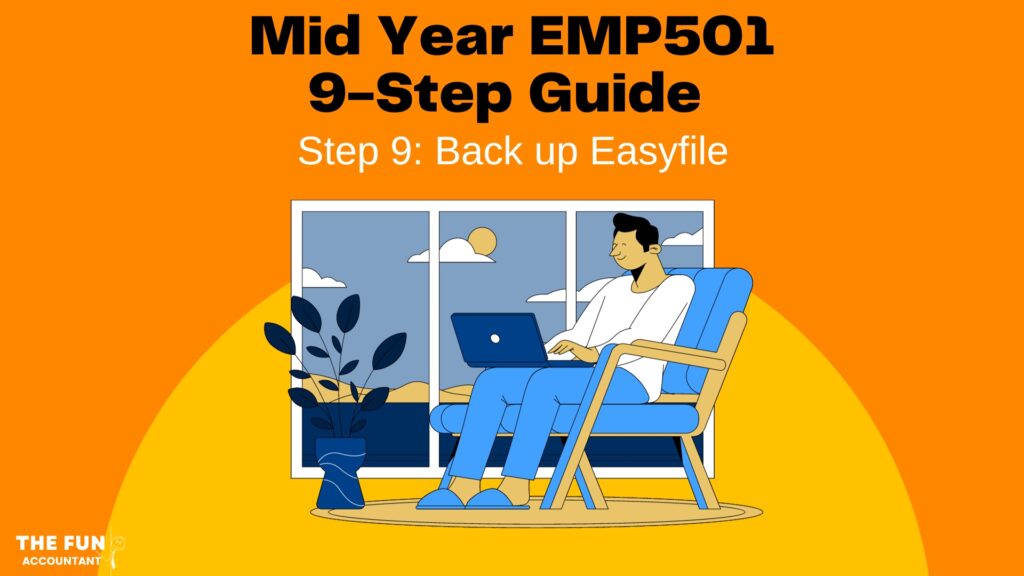
Step 9: Backup Easyfile
After confirming the successful submission of your EMP501, the next and last step is to ensure that all your work is safeguarded.
To do this, navigate to the ‘Utilities’ tab found in the EasyFile software’s top menu.
Under ‘Utilities,’ look for the option labeled ‘Backup DB Directory.’ This function is designed to create a complete backup of your database directory. The database directory includes all the forms, submissions, and records you’ve worked on. This is a necessary step to prevent data loss due to unforeseen circumstances such as system crashes or data corruption.
Upon selecting ‘Backup DB Directory,’ EasyFile will prompt you to choose a destination for the backup file. It’s recommended to choose a local PC location, and not directly on an external hard drive or a cloud storage service. This ensures that your backup remains intact even if your computer encounters issues.
Once you’ve chosen the destination, EasyFile will proceed with creating the backup. Depending on the size of your database, this process may take several minutes.
After the backup is completed, a confirmation message will appear. Make sure to verify that the backup has been successfully created in the location you specified.
Conclusion: Your Journey to EMP501 Mid-Year Mastery
? And there we have it, folks! ?
We’ve crossed the finish line together on this EMP501 reconciliation journey. Isn’t it amazing how Sage Business Cloud Payroll can turn something so complex into a walk in the park? ?♂️
Until Next Time… Keep an eye out for our next how-to guide, where we’ll unpack more nifty tricks and tips making your business admin quick, easy and precise. Until then, take good care, and may your Mid-Year Reconciliations be smooth sailing!
Take Sage for a Spin—On the House! Ready to experience the magic of Sage Business Cloud Payroll? Check out the link below for a free 30-day trial. Test drive it and watch the stress of payroll submissions melt away.