It is very easy to set up your company in Sage Cloud Accounting. It can be done in under 5 minutes. The Sage setup process is done in 3 simple steps. There are no limits to your settings even though you are still in the 30-day free trial period of Sage Cloud Accounting.
What effect does your company settings have?
These company settings are the bare minimum that will be required for your business invoices, statements and reports for your business to look and feel professional. Most important you don’t need to be an accountant or bookkeeper to set up your own business settings.
The 3 steps of setting up your company
Sage guides you very well during the setup process to enable you to do it quickly. The 3 steps are:
1. Company Details
Although this section is referred to as “company details”, Sage cloud accounting is ideal for any business type like sole proprietors, partnerships, close corporations, non-profits, schools, close corporations and trusts.
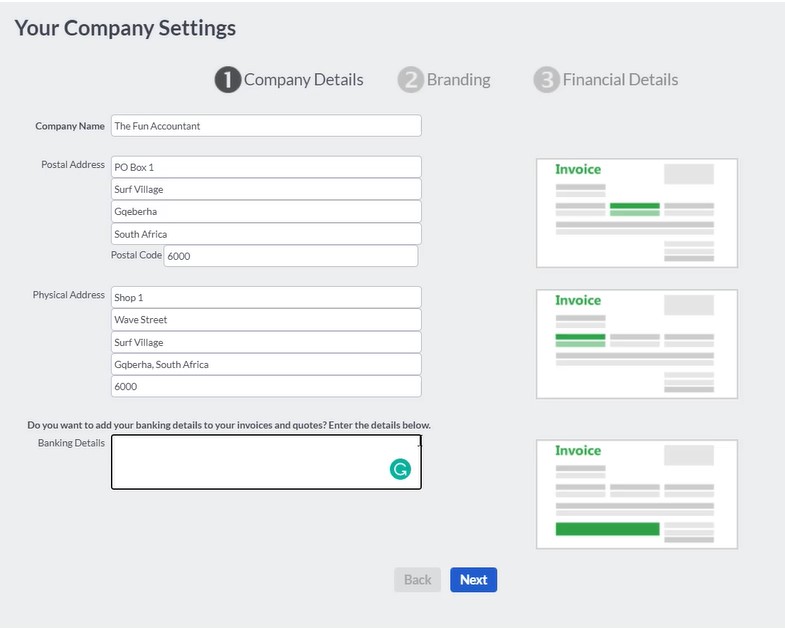
Information sections that will be completed are:
– Company / Business name that will appear on all documentation;
– Postal Address;
– Physical Address if you receive deliveries from Purchase orders that can be sent directly from Sage;
– Banking Detail if you want it to appear on quotes, invoices and statements

2. Branding
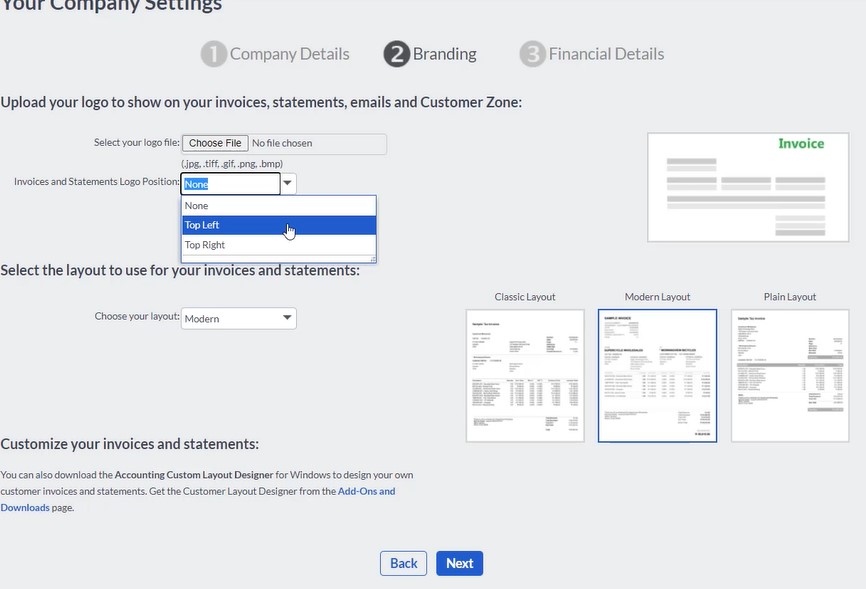
The branding section of your company settings gives you the basic layout options for your logo and quotes, invoices and statements. This section will determine your document’s appearance and can help you create your brand awareness whereby people can recognise your business.

The branding settings consist of 2 sections:
- Logo
You can select and upload your logo file. File types that are supported are: .jpg, .tiff, .gif, .png, .bmp.
You can choose the positioning of your logo on your documents at the top left or the top right. - Layout
Choose a layout option for your invoices and statements. Sage provides 3 options to choose from:
– Classic layout
– Modern layout *My favourite layout*
– Plain layout
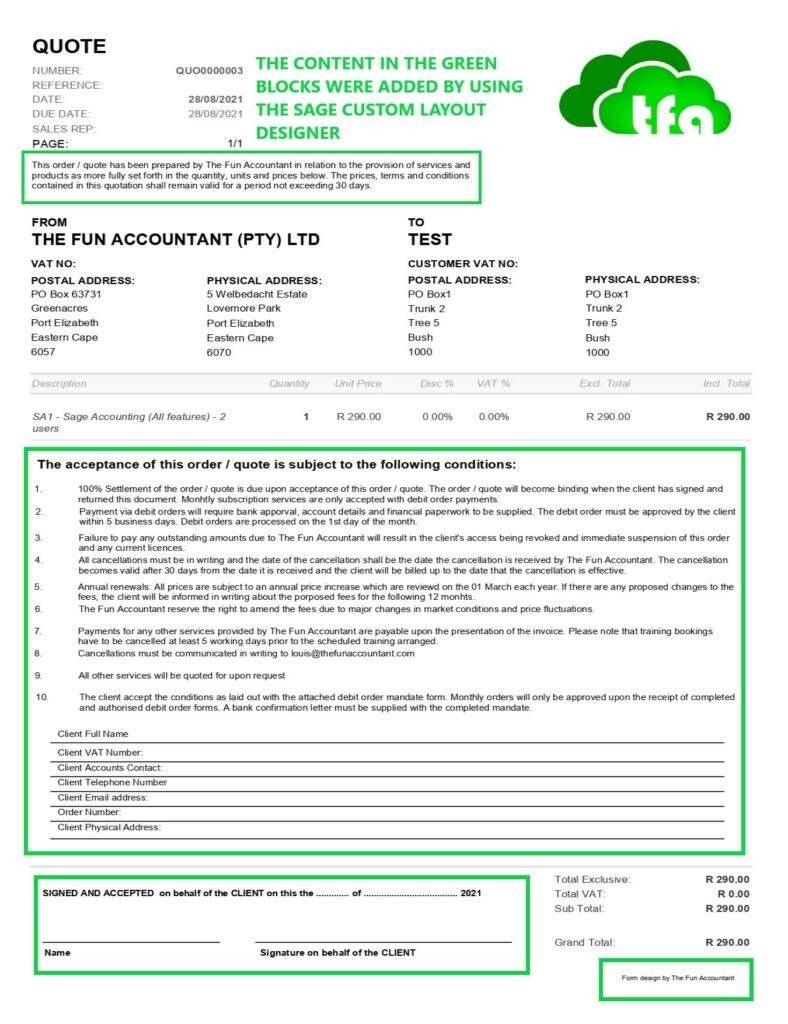
If these branding options are not sufficient for you or you would like to add additional information, Sage gives advanced customization options with their Custom Layout Designer at no additional charge (free!). Below is The Fun Accountant’s quote as an example of changing the quote layout and adding sections by using the Custom Layout Designer. In the future, I will do a tutorial about how to use the Sage layout designer.

3. Customer Zone
By choosing to enable the customer zone your customers can view their invoices and statements online. They will receive an email with a link to view their invoices online. At the customer zone, your customers can easily pay your invoice online. The customer zone is provided free of charge but it is only available in certain countries.
3. Financial Details

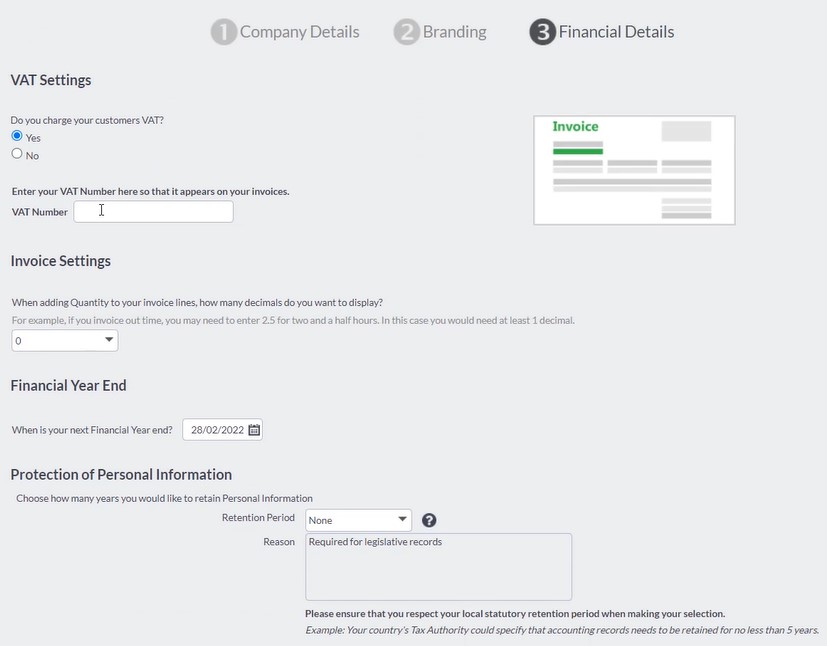
- VAT
The VAT management aspect of your accounting is activated when you select the option that you charge your customers VAT. When you complete your VAT number it will be applied to all the required fields in your accounting.
2. Invoice settings
When you add quantities to your invoice lines, you can select how many decimals you want to display.
3. Financial Year End
You can select your next Financial Year End. If your bookkeeping is behind and you would like to catch up, you can select a year-end date in the past.
4. Protection of Personal Information
Sage helps you to be compliant. In this section, you state the retention period that you retain Personal Information.
The company settings are finished and you are ready to do business! If you have omitted some information or entered incorrect data, do not fear! You can change the setting at a later stage.


