
This article accompanies our explanation YouTube video about importing bank statements into Sage Cloud Accounting which replaces the manual capturing of bank transactions. We suggest that the reader use this article as a written reference and training manual to enhance your video experience or to use it if you do not have access to YouTube.
Sage Import Example
Click here to download the Sage Import Example CSV file
Introduction
The norm in Accounting these days is to automate your tasks as much as possible because:
- it enables you to handle the influx of transactions that comes with a growing business.
- Importing reduces data capturing errors, and
- removes time spent on unnecessary tasks so that you can assign resources to optimal areas of your business that results either in growth or other improvements.
This article’s objective is to explain how to import bank statements into Sage Business Cloud Accounting from a CSV bank statement. This is a game changer in the businesses of bookkeeping, saving ourselves and our clients time, or for the business owner who is taking a shot at attempting this task himself.
From the outset, as will be revealed in this article, it is not a complex process at all. Sage Cloud Accounting makes accounting really simple and easy by reducing unnecessary steps like matching and organizing bank transactions over various screens, really simplifying the process but still getting the same or even better results than other online accounting programs.
Why the big fuss about bank transactions?
Bank data is a major focus for accountants and business owners because our banks do such a good job of recording the biggest part of our business which is then used for reporting purposes in financial statements and our tax returns.
The bank data contains useful information about:
- Receipts and payments
- Dates of occurrence
- Description of payee
- References like invoice numbers and
- Amounts
There is no doubt that bank transactions are some of the most important data in a business, hence the reason for this article.
What are the most important bank data formats?
Banks do a good job of providing us various format options in which we can get the data that we need. We may choose to extract the data from our internet banking in PDF, OFX, or CSV formats, just to name a few.
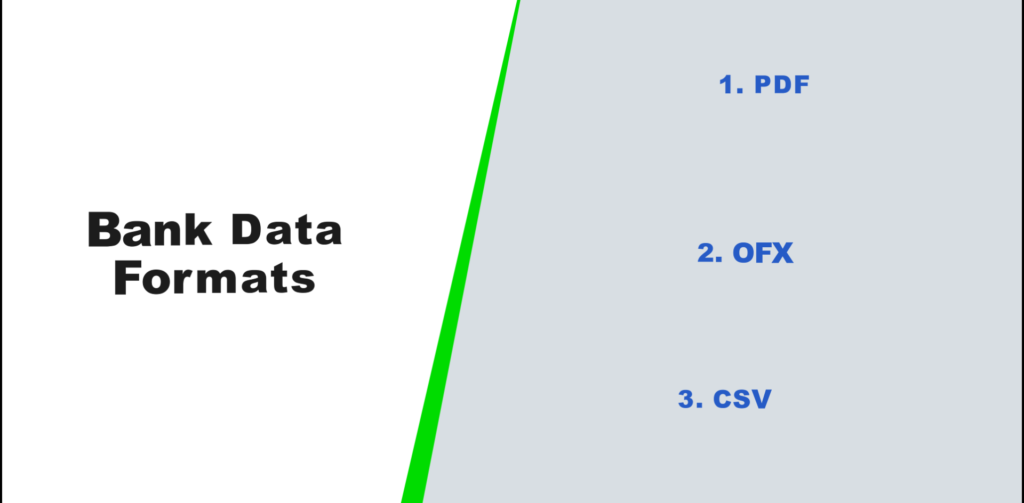
You can then in turn use these data files to your advantage. I am going to focus on CSV importing. Nowadays CSV file formats are very popular and widely used.
It is a regular occurrence to receive your bank statements via email and guess what? The bank sent your statements in 2 formats. A PDF file and a CSV file.
We receive the bank statements in PDF & CSV formats what now?
We download both files. I always keep the PDF file as a reference to compare my accounting bank data to my bank statements.
The CSV file is downloaded to my PC and is stored in my downloads folder. I click on the file to open it. It is important to note that you cannot merely import the CSV file without first looking at it. And in this case if your file looks like the one below you will have to adjust and tweak it to get it ready to import. The time spent on tweaking this file is no bother to me, because it is still much faster than manually capturing bank statements.
Preparing CSV file for import into Sage Cloud Accounting
To prepare the CSV file you are going to use a little bit of excel skills. If you get stuck in preparing your CSV files for import, you can always come back to this article as a guide.
Please also remember the following requirements when importing a CSV bank statement into Sage:
- a header row and
- only 3 columns.
- In the 1st column the Date.
- The 2nd column the descriptions of the transactions.
- And the 3rd column, the transaction amount.
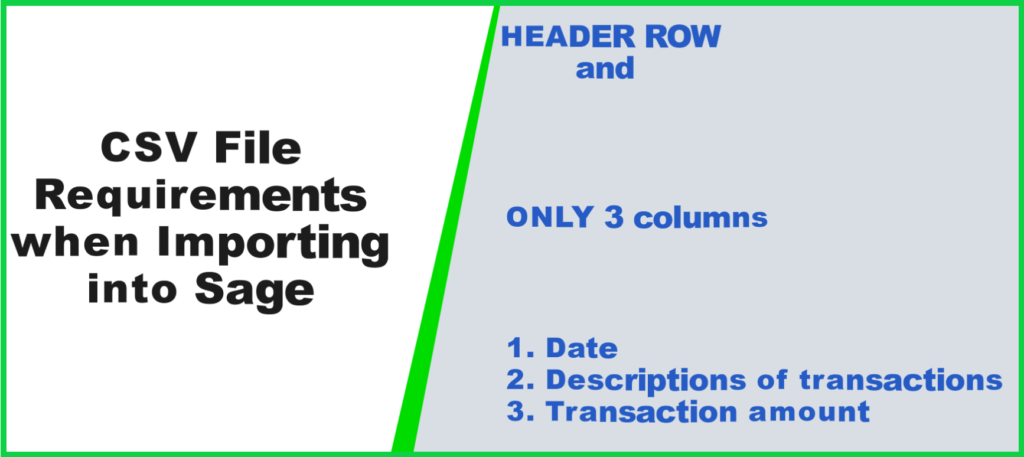
That is the only data that you need.
Also to be noted is that each cell within your spreadsheet must contain data.
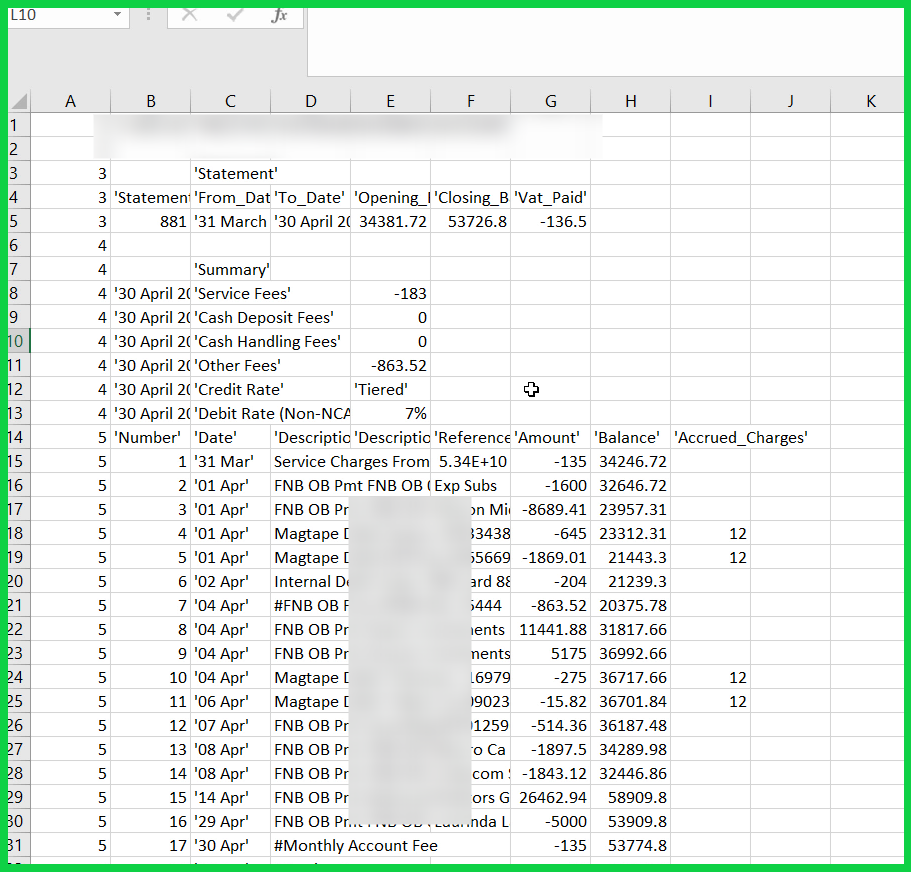
The CSV file presented above is the typical file that you may expect especially if you are a FNB banking client.
You start by deleting information that cannot be imported and is not useful to us for this purpose.
- You delete the top heading summary of transactions that you don’t need.
- The first column has the number 5 in each cell with the second column numbering the transactions. You delete both columns.
- If you expand the next 3 columns you find:
- “Description 1”,
- “Description 2” and
- “Reference”.
There is no data in the Description 2 column making it an easy removal.
You also don’t need the “Accrued Charges”.
The “Reference” column sometimes contains data that is essential for describing or identifying transactions and I prefer to include it in my data. I do this by combining the “Description 1” column with the “Reference” column.
How to combine 2 cells in Excel: [=B2&” “&C2]
It is fairly simple to combine 2 cells in excel with a formula. That formula is =B2 the first cell then the & sign, followed by a space which is achieved with quotation mark “ space and another quotation mark, then the & sign again and selecting the second cell C2 and “enter”. You can see the effect of the combined cell which is ideal for a description of this transaction which will help you when categorizing bank transactions.
The combined description formula is copied to the end of our data fields.
The next step is to copy the data of that column to your first description column and paste it as values and not a formula by selecting paste values.
Now you can get rid of the combined cell data you have created by deleting the column as well as the reference column as its data is included in the combined cell.
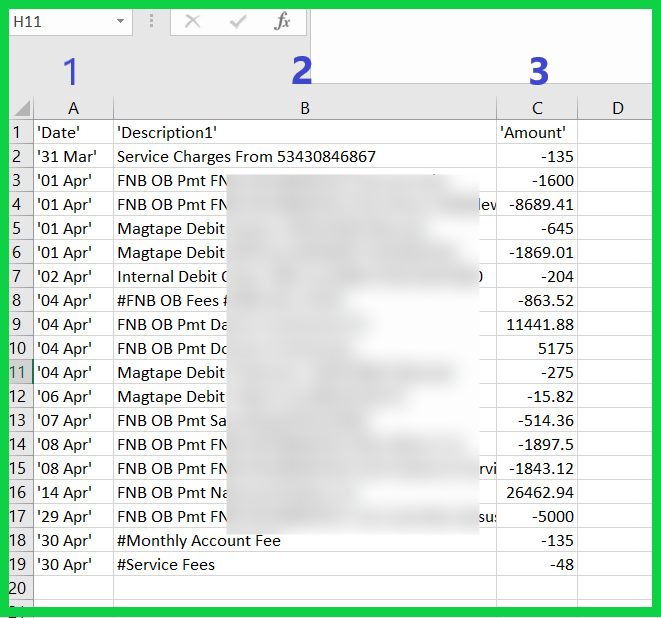
Sage is not going to accept the bank balance data so you delete the balance column and you are left with the 3 columns that you need.
You are not done yet! The DATE data has been imported as text and you need to fix it. I am going to show you how I convert it to a DATE format. There are also other ways of doing it, if you have an easier method, please share it with us in the comments section.
How to convert a range of text data to Date format dd/mm/yyyy.
Start by adding 2 more columns next to the date to make room for the formatted DATE data.
- Select the date column,
- go to data,
- Open text to columns
- Choose Delimited
- Click on next
- Set the delimiters by selecting other
- Enter apostrophe
- Remove the tab delimiter and
- Select apostrophe as text qualifier
- Click on “Next”
Select the column at the bottom and then under Column date format select the date as DMY and then click on “Finish”. The text data has been converted to date format. But is still not the right format for importing into Sage.
Select all the date data, right click and then format cells. Select the dd/mm/yyyy format and click OK.
Then we delete the 2 columns with no data in. Our CSV file is ready to be imported into Sage.
Finding a Sage CSV template – the easy way
Sometimes the import fails, and so we waste time figuring out what the problem might be. I prefer to use a shortcut to circumvent this issue and this is my failsafe method to always ensure that the CSV file import works. My method works as follows:
Retrieve the Sage Download example so that you can use it as a template, and in the process save time. The Sage Download sample is difficult to obtain but I have found an easy way to get it:
- You go to Sage Cloud Accounting
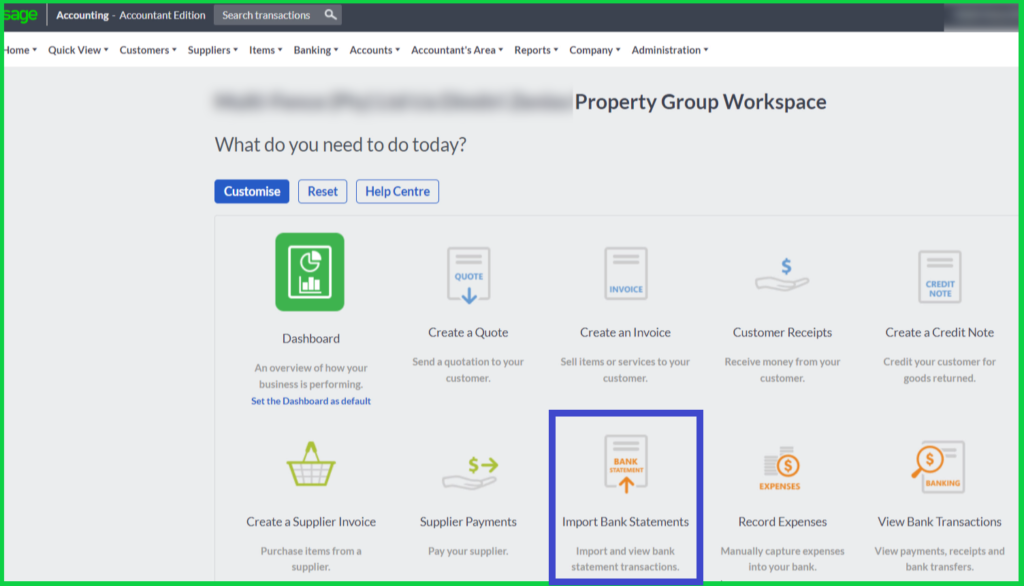
- I am on the “Workspace Screen” and from here I need to get to the “Banking screen”. There are a few ways to do this. One way is to click on the Icon with the “Import Bank Statements” text, which takes you to your bank transactions.
- Then click on “Import Bank Statements.”
You are purposefully going to upload a CSV file that should fail the Sage import, whereby Sage will then assist by providing a CSV template. For this you are going to use the downloaded CSV file.
- Select CSV in the Import File Type.
- Then Browse to find the CSV file.
- Select it and click on the Blue “Import File” button.
- An error message will appear informing you of a problem with the import file, which is exactly what you want at this point, but this is not the message that you want to see when importing your final CSV file.
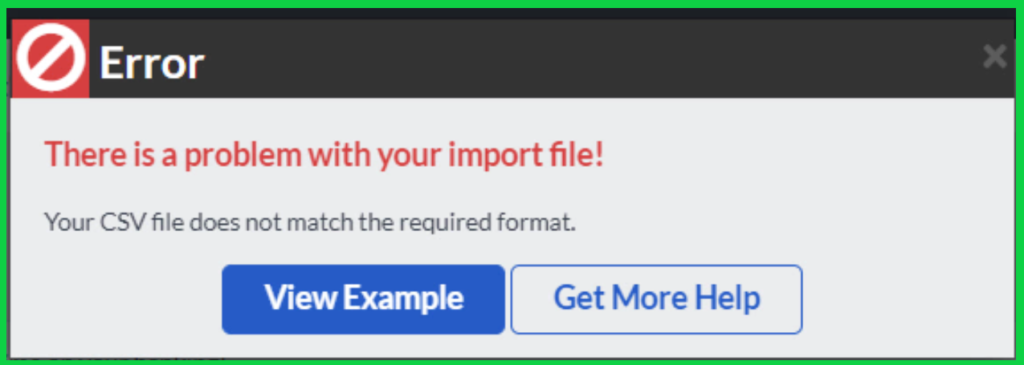
Select View Example and then click on the “download an example button.
You will be using this example as your import template.
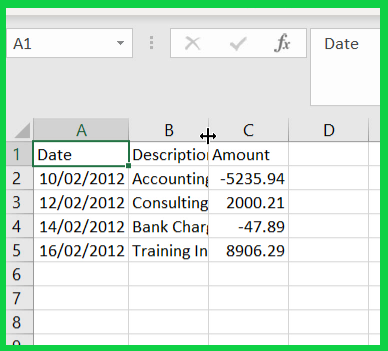
Open the template file and you will see the 3 columns with 4 rows of data. This is exactly how your import data should look. Keep the header row and delete the 4 sample transactions that Sage has loaded into this file.
Copy the adjusted real bank data into the Sage CSV template file
You open the CSV file that we previously worked on and prepared for the import, and then select each row, along with the 3 columns, but excluding the header, because you will be using the Sage template header. Copy and paste it into your Sage Template. Then you are going to save it by giving it a different name to identify the file, still leaving it as a CSV (Comma delimited file).
You go back to Sage, close the error message and this time you are going to import your final bank statement that you prepared.
- Select CSV
- Leave the date format as is;
- Browse and choose the file. You will see the file name appearing in the field next to the “browse” button.
- Click on the “Import File button.

If all goes well you get the message that “Your CSV file import completed successfully”.
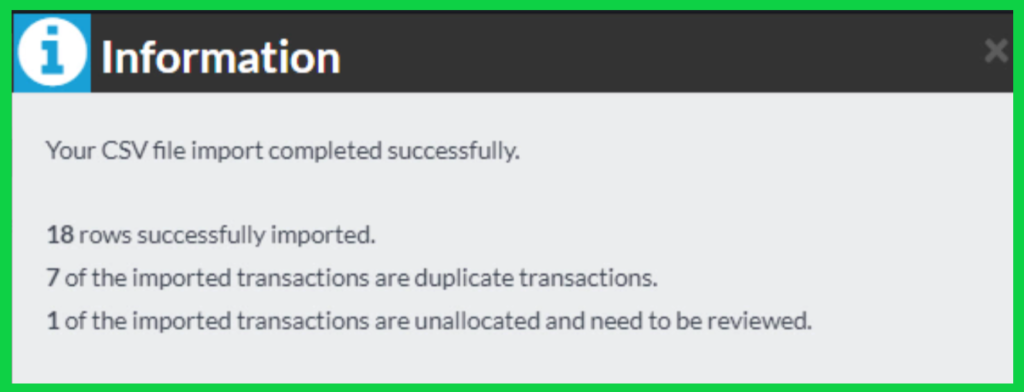
You get important information about the bank transactions such as 18 rows were imported and 7 duplicate transactions that needs to be reviewed.