This is Part two of a two part series on a payroll taxes validation failure received from SARS when submitting The Annual Reconciliation Declaration (EMP501).
In part 1 I showed you how to find where the validation failure occurred when you have used the SARS E@syfile channel for submitting the EMP501 and today we will fix the failure by correcting an IRP5 tax certificate and resubmitting the EMP501.
In the first part of this series we learned how to view your validation calculation file. From the data in the file we could find which employee certificate has a validation failure and what failure has occurred.
Check out the video below accompanying this blog:
Login to SARS E@syfile
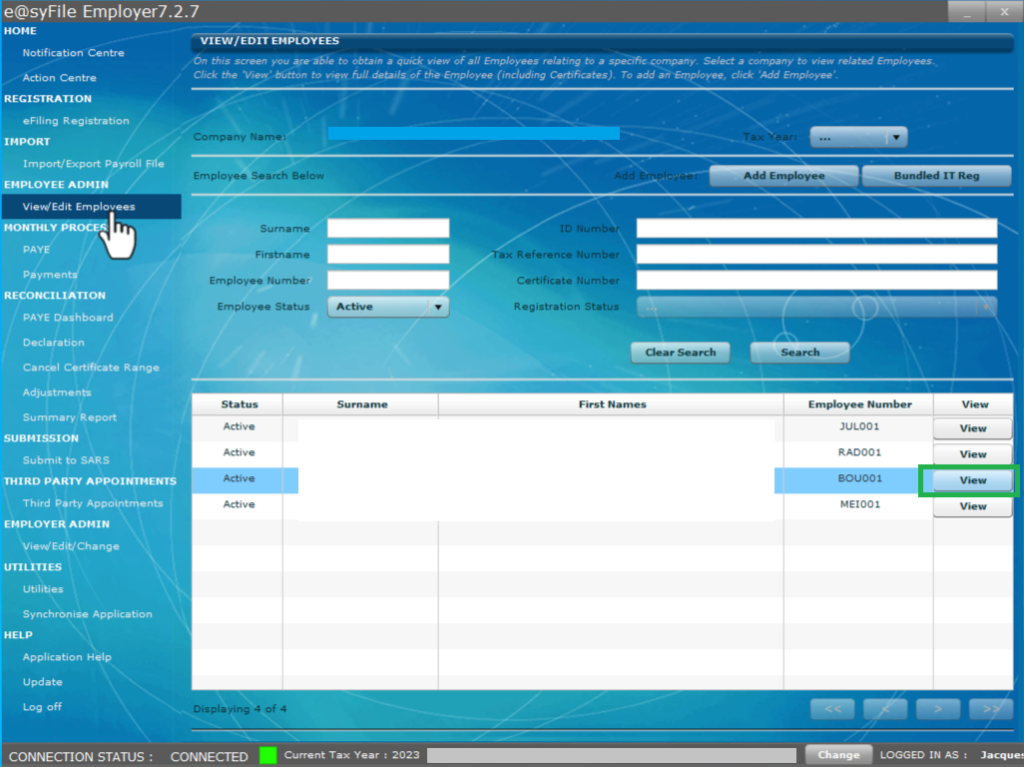
This means we need to go to the Employee Admin item in the sidebar menu to the left of the screen. Select View/Edit Change.
Select the “view” button next to the applicable employee.
To the left of the screen we can see the certificate and its status: submitted.
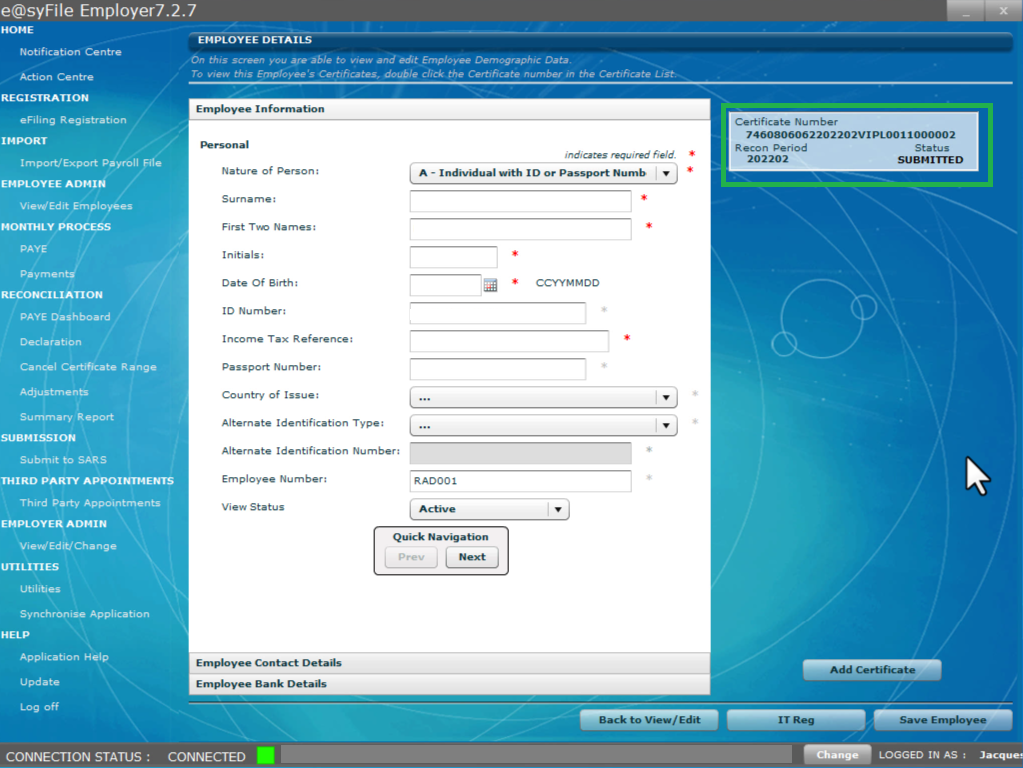
Select the certificate to open it.
Why Validation Failures Occur
How you will go about correcting the failure will depend entirely on the type of failure you received however in almost every case you will need to revert back to your payroll data to investigate where the variation has occurred.
Failures are quite rare and occur most often when employers use unreliable payroll software or they do manual payroll on spreadsheets.

Sage Cloud Payroll is a reliable software solution with automatic tax calculations being applied by the software that are consistently and automatically updated as legislative changes take place.
This ensures that the statutory deductions performed on employees’ remuneration are always accurate. And that reconciliation failures will not occur upon the annual declaration to SARS.
You deserve to be assured and confident in the payroll software you use. Learn more about Sage Cloud Payroll here.
The Best Course of Action
In many of these types of IRP5 certificate corrections the best course of action would be canceling the incorrect certificate and replacing the old certificate with a new certificate.
After you have replaced the old certificate with the new one, the employee who was affected will have to update their ITR12 tax return for the new information to filter through by refreshing his tax information for that tax year.
Find out exactly how it is done here, from the individual employee’s perspective whose tax is affected by an employer replacing an IRP5 certificate.
How to Correct and Reissue an IRP5 Tax Certificate
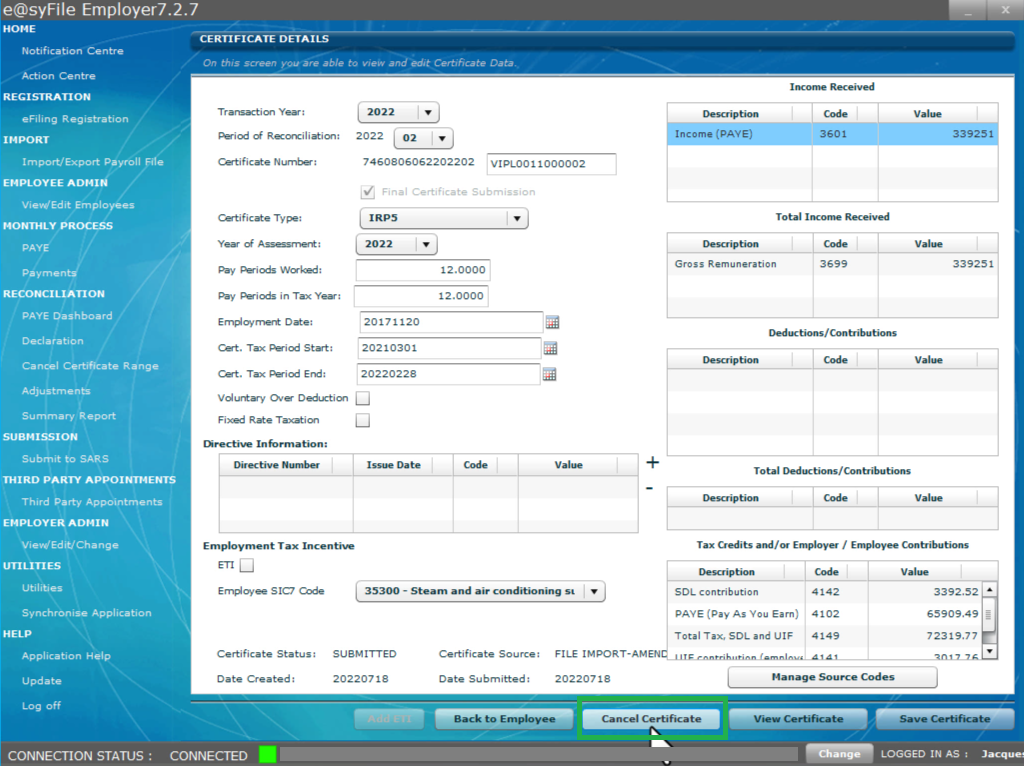
At the bottom of the certificate details window select “cancel certificate”. A pop up will appear indicating the certificate has been successfully canceled.
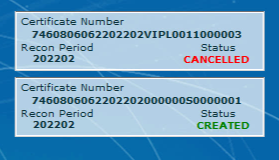
Select “back to employees” and you will see the status of the certificate is now canceled.
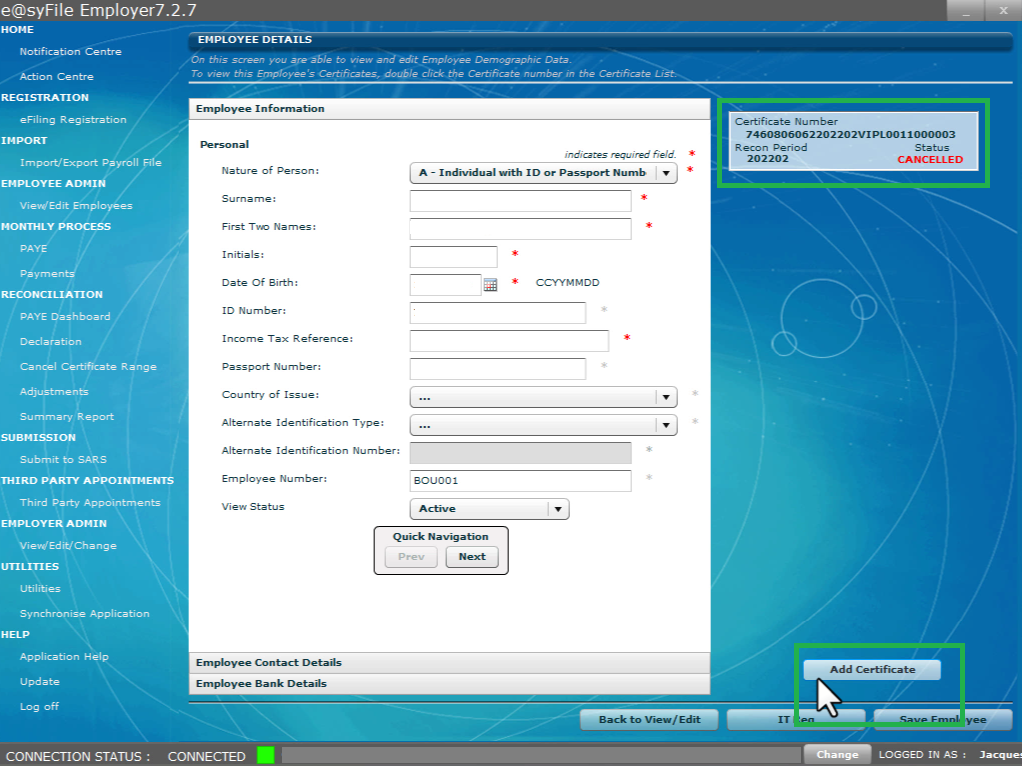
Now we need to add a new certificate with the correct data.
The failure in this particular case occurred due to take-on balances entered into the payroll software when the employer switched his software.
There can be many more reasons that force an employer to amend an employee’s tax certificate. I Am going to show you this example but the steps that you take and principle in doing so remains the same.
Hopefully you can use this post as a reference should that happen to you.
When you change from one payroll software to another, or you start using a payroll system as opposed to doing payslips and deductions manually, it’s common for tax calculations or Unemployment Insurance Fund calculations to differ.
In this example I knew about all the issues pertaining to the employee’s deductions and contributions and therefore I was able to reconcile the difference fairly quickly and amend the tax certificate accordingly.
I quickly re-populated the certificate, omitting the previous input error.
Select “save certificate”. A pop up will appear indicating the certificate has been successfully saved.
You will now have two certificates for the employee. One canceled certificate and the new certificate with a created status.
Resubmit the EMP501 Declaration
Now we need to perform the annual reconciliation again and re-submit the EMP501 declaration . In the sidebar menu to the left of the screen under the item Reconciliation, select Declaration.
- At the top of the EMP501 declaration window select the “period of reconciliation” and then select “revise”.
- Select the “accept data” button, you will then be asked to login again.
- Review the EMP501 declaration by comparing the amounts paid from the PAYE statement of account downloaded from SARS Efiling to the amounts in the last column.
- At the bottom of the reconciliation form the differences should be zero or minimal, unless an underpayment to the authorities has been made, this will result in an annual declaration liability.
- In this case I contribute the difference to rounding.
- In the left hand corner select file and close from the File drop down.
- A pop up will appear indicating the declaration is ready to file.
- In the sidebar menu to the left of the screen under the item Submissions, select Submit to SARS.
- Your EMP501 will be listed with a ready to file status. Check the Submit checkbox and then select the “submit” button in the top left hand corner of the submission window.
- Select a folder to save the documents to, you will be asked to login once more.
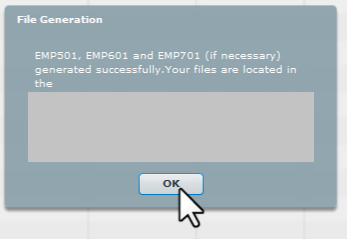
- A pop up will appear indicating that the EMP501 has been uploaded successfully. Your submission will be processed.
- A pop up will appear indicating that the submission to SARS is successful.
Read here for a detailed post on how to submit The Annual Annual Reconciliation Declaration (EMP501) for a company.


